
Build your first form
Step-by-step guide to creating a form: adding fields, marking what's required, choosing a layout, and setting what happens after submit.
Every lead-capture page, booking flow, and contact-us section starts with the same building block: a form. This walks through creating one from scratch — picking fields, deciding what's required, choosing a layout, and telling the platform what to do the instant someone hits submit.
Before you start: know what you're collecting and why
Every field you add is friction. Research on form conversion consistently shows that shorter forms convert dramatically better: a form asking for just one or two things converts at roughly 25%, while forms asking for seven or more fields can drop below 12%. Before you open the builder, write down the minimum you actually need to follow up with the lead — usually name, email, and maybe phone. Add anything else only if you genuinely can't proceed without it (or if a later question, gated behind conditional logic, is worth the drop-off).
Tip: You can always collect more detail later — in a follow-up email, a call, or a second form after they've already converted. The first form's job is just to get them in the door.
Step 1: Create a new form
- Go to Sites > Forms (or add a Form element directly inside a funnel or website page you're building).
- Click + New Form (or Add Form inside the page editor).
- Give it an internal name you'll recognize later — something like "Homepage Contact Form" rather than "Form 1." This name is for your reference only; visitors never see it.
- The Form Builder opens in a large editor with your canvas in the middle and a right-hand panel for settings.
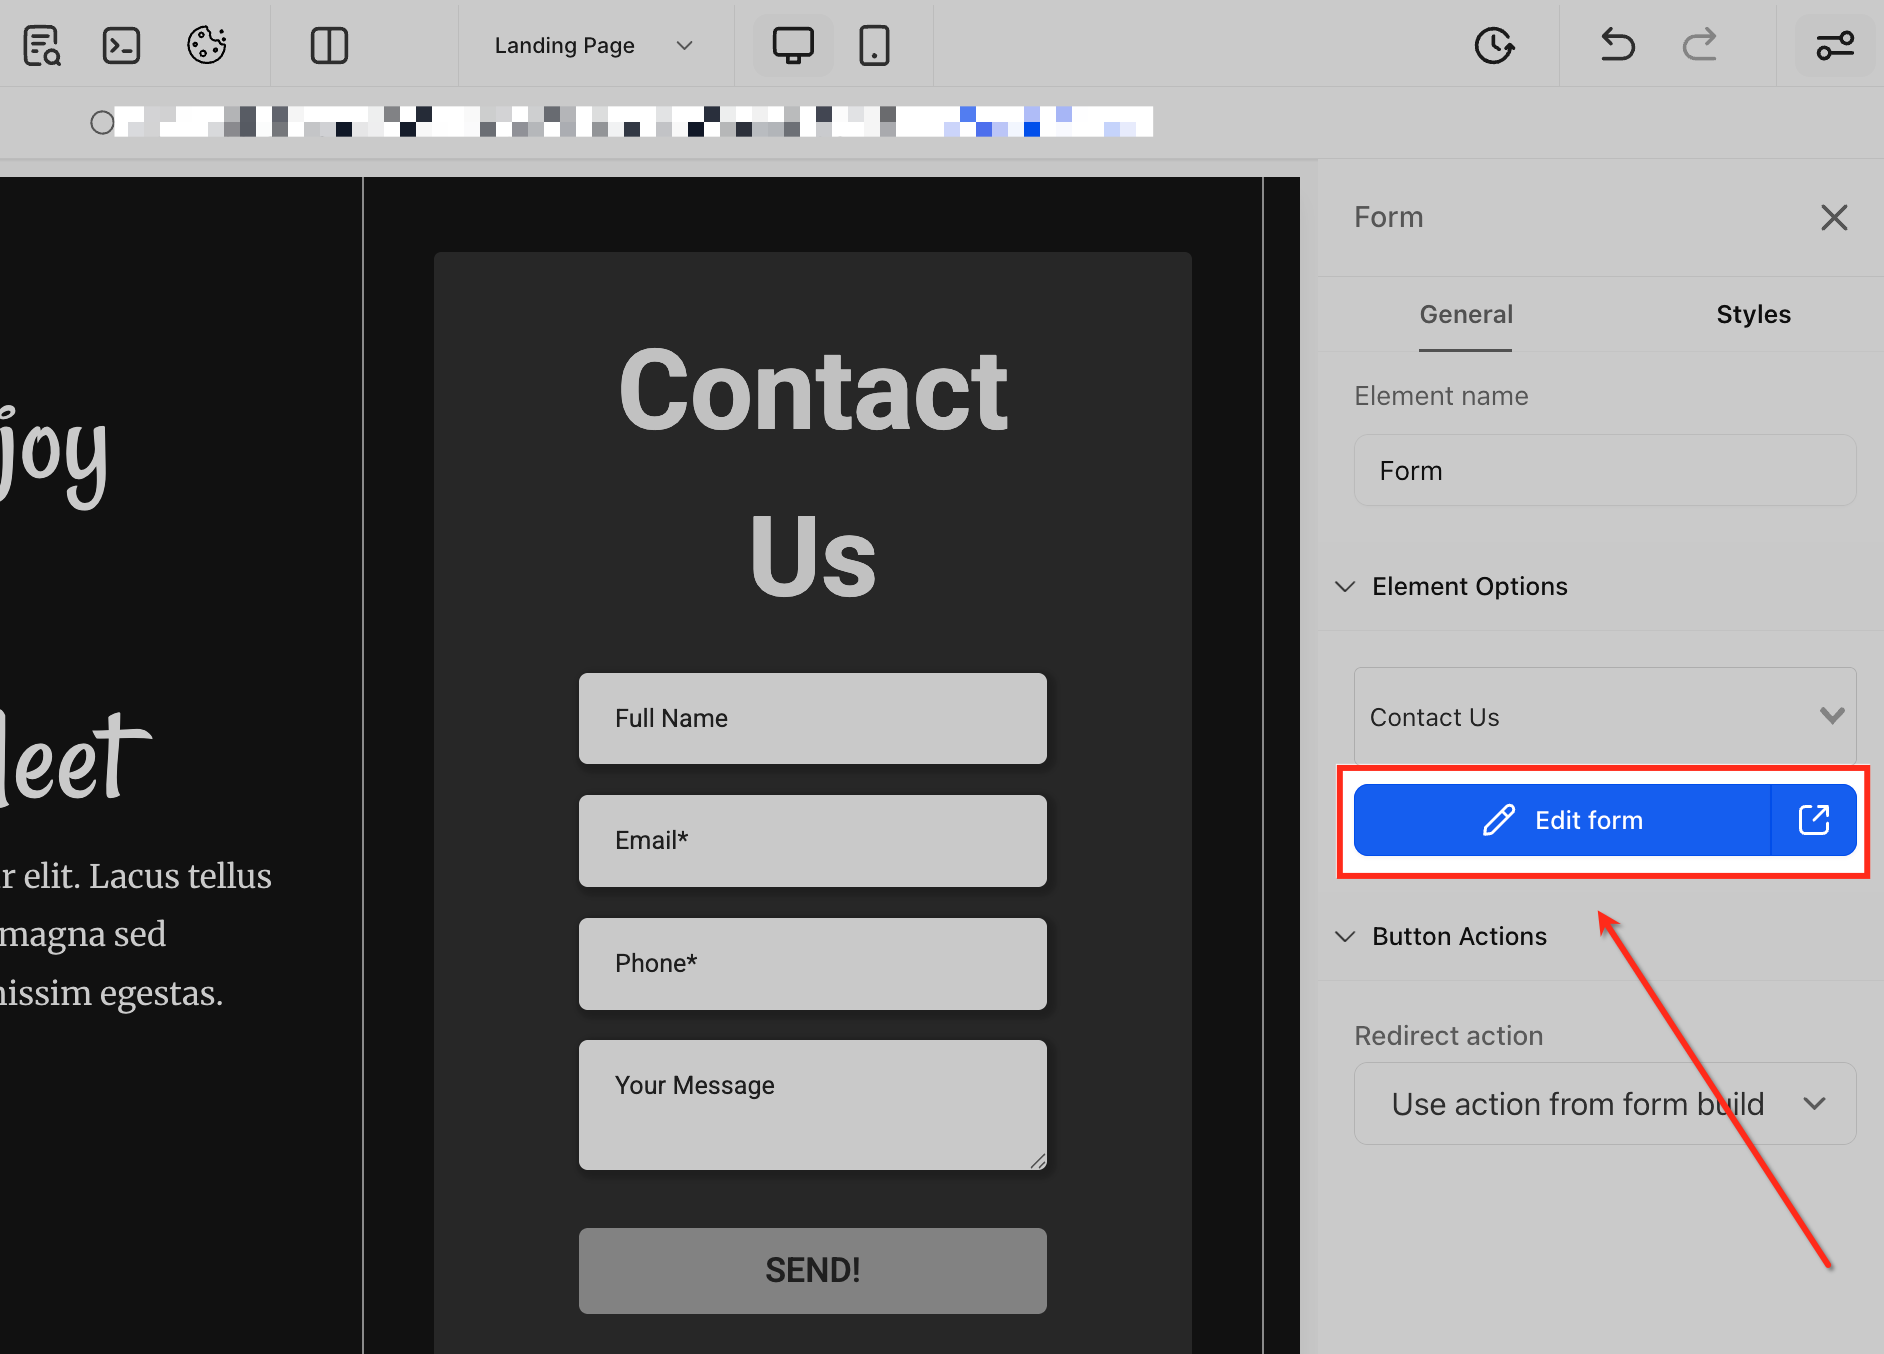
Step 2: Add fields
You'll typically see two ways to add a field:
- Quick Add — one-click buttons for the fields almost every form needs: Full Name (or First Name / Last Name separately), Email, Phone. These map automatically to the matching standard contact fields.
- Add Object Fields (or similar) — browse the full list of standard and custom fields on your account, including anything your team has already created, and drag or click to add it to the form.
To add a question that doesn't exist yet as a field, create a new custom field from inside the builder: give it a name, pick a field type (single line text, dropdown, checkbox, date, number, file upload, etc.), and save it. It's now reusable on any other form or survey in the account.
Note: Field types matter for both data quality and automation. A "Budget" question as free text lets people type anything ("idk", "a lot"); the same question as a dropdown with defined ranges gives you clean, consistent data you can actually filter and automate on.
Standard fields vs. custom fields, quickly
- Use standard fields (Name, Email, Phone, Address) whenever the question matches one — these are what automations, the contact record, and reporting expect by default.
- Use custom fields for anything specific to your business or offer.
See How forms, contacts, and custom fields work together for the full picture.
Step 3: Mark required fields
Click into any field's settings and toggle it to Required. A required field blocks submission until it's filled in, with an inline validation message shown to the visitor.
Some guidance on what to make required:
- Always require whatever you use to identify the contact — typically Email, or Phone if you're SMS-first.
- Don't require fields you don't strictly need. Every additional required field is a place someone can decide the form isn't worth finishing.
- For sensitive or optional questions (referral source, company size), leave them optional — you'll still capture answers from people willing to share, without losing the people who aren't.
Step 4: Choose a layout
The builder supports a few layout styles for how fields sit on the page:
- Single Column — fields stacked vertically, one per row. The safest default, especially for mobile.
- Two Column — fields sit side-by-side in pairs, useful for related short fields (First Name / Last Name, City / State) to keep a form visually compact.
- Single Line — up to five fields arranged in one horizontal row, best for very short forms (like an email-only signup bar).
You can also set an individual field's width as a percentage, so a short field (like a two-letter state field) doesn't take up the same space as a full address line.
Tip: Two-column and single-line layouts look great on desktop but can get cramped on small screens. Preview your form at mobile width before publishing — most form traffic is mobile.
Step 5: Set the submit button
Click the submit button element to edit its:
- Button text — replace the generic "Submit" with something action-specific: "Get My Free Quote," "Book a Call," "Send Message." Action-oriented button copy consistently outperforms generic labels.
- Button style — color, size, and corner radius, usually inherited from whatever theme you've applied (see Style your form).
Step 6: Decide what happens after submit
This is the setting people forget, and it matters as much as the fields themselves. In the form's settings, choose one:
- Show a message — a simple "Thanks, we'll be in touch!" that appears in place of the form. Fastest to set up, no extra page needed.
- Redirect to a URL — send the visitor to a dedicated thank-you page, a calendar booking page to schedule a call immediately, or a resource you promised them. Redirecting to a real page also lets you fire page-view-based tracking (ad pixels, analytics goals) that a same-page message can't.
Either way, decide this before you publish — a form with no clear "what happens next" leaves visitors unsure whether their submission actually went through, which erodes trust.
Step 7: Turn on notifications (optional but recommended)
Click the notification icon in the builder to configure:
- An internal alert to your team the moment someone submits, so a lead doesn't sit unseen.
- An auto-responder to the person who submitted, confirming you received it.
Full detail on this is in Managing submissions and notifications.
What done looks like
A finished, ready-to-publish form has: only the fields you truly need, the right ones marked required, a layout that looks clean on both desktop and mobile, a submit button with specific action text, a defined post-submit experience (message or redirect), and at least one notification configured so your team knows when a lead comes in. Preview and submit it yourself once before publishing to confirm every piece works end to end.
Related articles
- How forms, contacts, and custom fields work together
- Style your form
- Add a form to a page or embed it externally
- Conditional logic, hidden fields, and UTM capture
Frequently asked questions
Can I edit a form's fields after it's already published and collecting submissions?
Yes, and past submissions aren't affected — edits only change what new visitors see. Be cautious about removing a field entirely if a workflow depends on it; check your automations before deleting.
Can I accept payments through a form?
Yes — a Payment element can be added to a form to collect a one-time payment or donation alongside the contact's information, useful for paid consultations, deposits, or registrations. This is a separate element from the standard contact fields.
What's the difference between a form and a survey?
A form is built for quick lead capture — a handful of fields on one screen. A survey presents questions one at a time across multiple steps, better suited to longer qualification flows or quizzes. See Multi-step forms and quizzes.